
Ever had an upcoming event and wondered how to get the word out to the Disability Community? One of the best means of communication is adding your events to community calendars. Pathfinder has made it easy for you to add your events to our Events Calendar on our website.
- Log into Tennessee Disability Pathfinder at TNPathfinder.org by clicking the Account icon at the top right of the page.

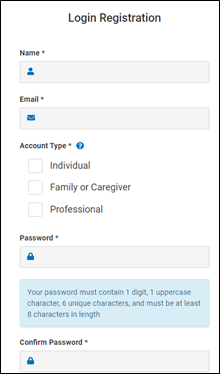
- Click Register and Fill in the required information.
 Check Email (check Spam or Junk folder) to Confirm email address
Adding a Listing
To submit a listing to the Tennessee Pathfinder team for review, click the ‘+’ icon at the top of the page. (Just to the left of the account icon where you logged in.)

Select a Listing Type
On the initial Add Listing page, you will see four options for your listing submission type: Provider, Link, and Event. A short description of each is provided on the page if you’re unsure about the category of your submission.
Additionally, you can click the ‘?’ help icon provided on each submission type option to access additional details to help you make your selection. (See below.)

Adding an Event
Step 1: Event Information
The first thing to appear on the next page after making your selection is a popup filled with guidelines about completing your information.

After reviewing, you can close out of this window by clicking the ‘I Agree’ button at the bottom right. This first step gathers some important information about your event, including the following:

- Event title
- Name of the host organization
- Event start date and time: Adjust time to the correct time zone in which it’s being posted. If you’re in Central Time (CT) and posting an event being held in Eastern Time (ET), then adjust the time to Central Time (CT) – 10:00 ET would be posted as 9:00 CT. This is required for all events held in different time zones than the zone of the user posting it.
- Event end date and time: Adjust time to the correct time zone in which it’s being posted. If you’re in Central Time (CT) and posting an event being held in Eastern Time (ET), then adjust the time to Central Time (CT) – 11:00 ET would be posted as 10:00 CT. This is required for all events held in different time zones than the zone of the user posting it.
- Event registration deadline
- Event cost
- Intended audience (who should attend?)
- External event link (to an Eventbrite page or the like)
- If there are eligibility requirements for the event
- Do you provide more than the legally required accommodations at this event?
- Parking and entrance guidelines
- Event description
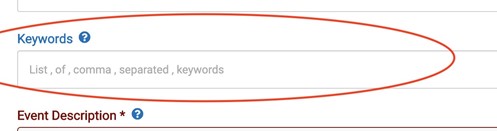
If you’d like, you can also add keywords that may help our users locate your event in their search results! (See below.)
Once you’ve completed at least the required responses on this step, click the ‘Next’ button to proceed.
Step 2: Locations
The next step is dedicated to location details for your event. This page will include whether there is a physical location, if the location address is strictly for mailing, and contact info.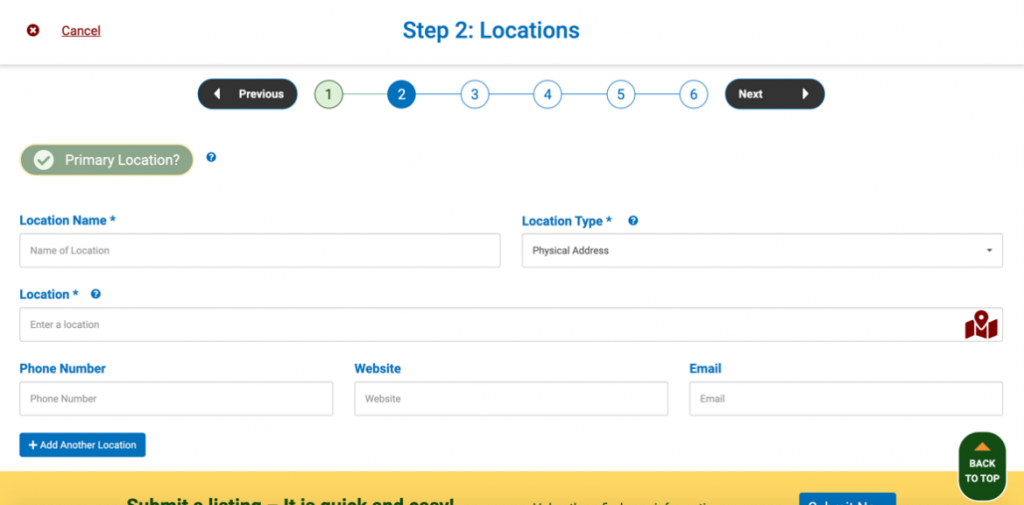
If the event does not have a physical location (as in the event takes place in a virtual conference format), you can open the Location Type dropdown and switch the setting to ‘Mailing Address’ to let users know they must reach out via one of the included contact methods.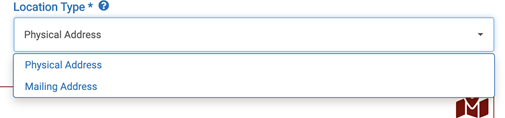
As you enter your location address into the Location field, you’ll see a dropdown populate with possible addresses from Google Maps. Selecting your address from this list once it appears will ensure that your location appears accurately on the Google Maps preview on your event once it’s published.
If Google Maps recognizes your address, the map icon at the end of the Location field will appear green, like this:

If Google Maps does not recognize your address, the map icon will appear red, like this:

If your event takes place over multiple locations, you can add more entries by clicking ‘Add Another Location.’ (See below.)

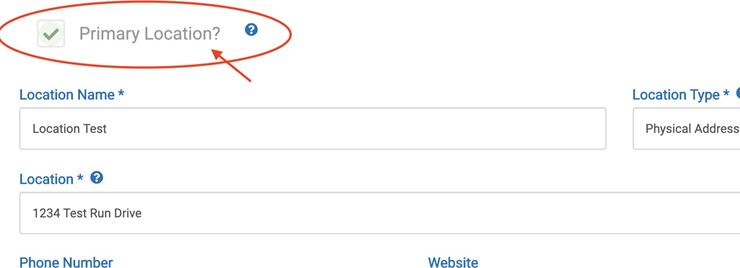
When you have multiple locations on a listing, you must designate one as the primary location for the event. You can do this by selecting the checkbox for ‘Primary Location’ for one of your entries. This checkbox will only appear and be editable if you have multiple locations listed. (See below.)
Once you’ve finished entering information for your listing’s location(s), click ‘Next.’
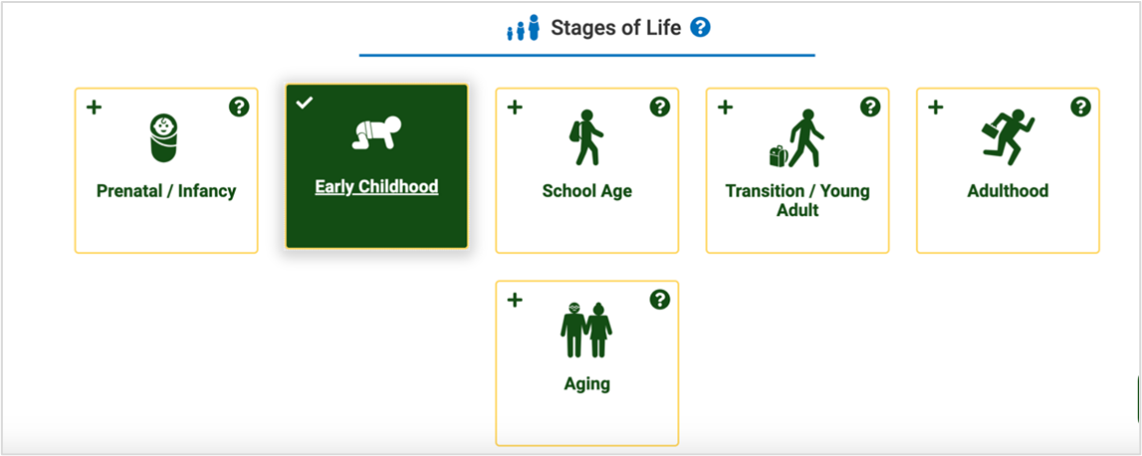
Step 3: Stages of Life
Stages of Life are developmental or educational markers. They may or may not be tied to an age range. Choose one or more cards that apply to your submission to ensure your listing will appear in the appropriate searches.
Clicking the ‘?’ help icons in each option will once again open a window with additional information to help you make your selection(s).

When you click a card to select it, the card will turn green, and a checkmark will appear in the upper left corner. (See below.)
If you don’t make any selections on this step, your event will appear in any search. Making accurate selection(s) on this step will help connect you to your intended audience.
Step 4: Topics of Interest
Next, we have Topics of Interest. These are topics that relate directly to the content of your event—choosing one or more of these will help users find your listing!
Simply scroll through the list of topics and click each card you’d like to be linked to your event. You can select as many or as few as you’d like. The card will turn green, and a checkmark will appear in the card’s upper left corner when it’s selected.

You can also narrow the full list of topics by entering a keyword into the search bar above the topic cards. After you enter your criteria, the list will narrow to include topics that align with what you searched. (See below.)

Once you’ve selected all the topics you feel relate to your event, feel free to click ‘Next’ and proceed to Step 5.
Step 5: Diagnosis
The fifth step is devoted to linking one or more diagnoses to your event to help users searching for a specific diagnosis find your listing as it applies to them.

Similarly, to Topics of Interest, click on each diagnosis card that relates to your listing. The card will turn green, and a checkmark will appear in the card’s upper left corner when it’s selected.
You can also enter a keyword into the search bar to narrow down the list, as we did in the last step. After selecting the diagnosis (or diagnoses) that relate most closely to your event, click ‘Next for your final step.
Step 6: Review
The final step is to review your listing before submitting it to our team for publishing. You can return to any previous step at this point if you want to update any of the information you entered.
Above your listing information, you’ll see two buttons (also pictured below). These are:
- Preview Listing – Click ‘Preview Listing’ to view your listing as it’ll appear once it’s published on
- Submit for Review – Once you click this button, this will send your listing to our team for review before it goes live on Pathfinder’s website!
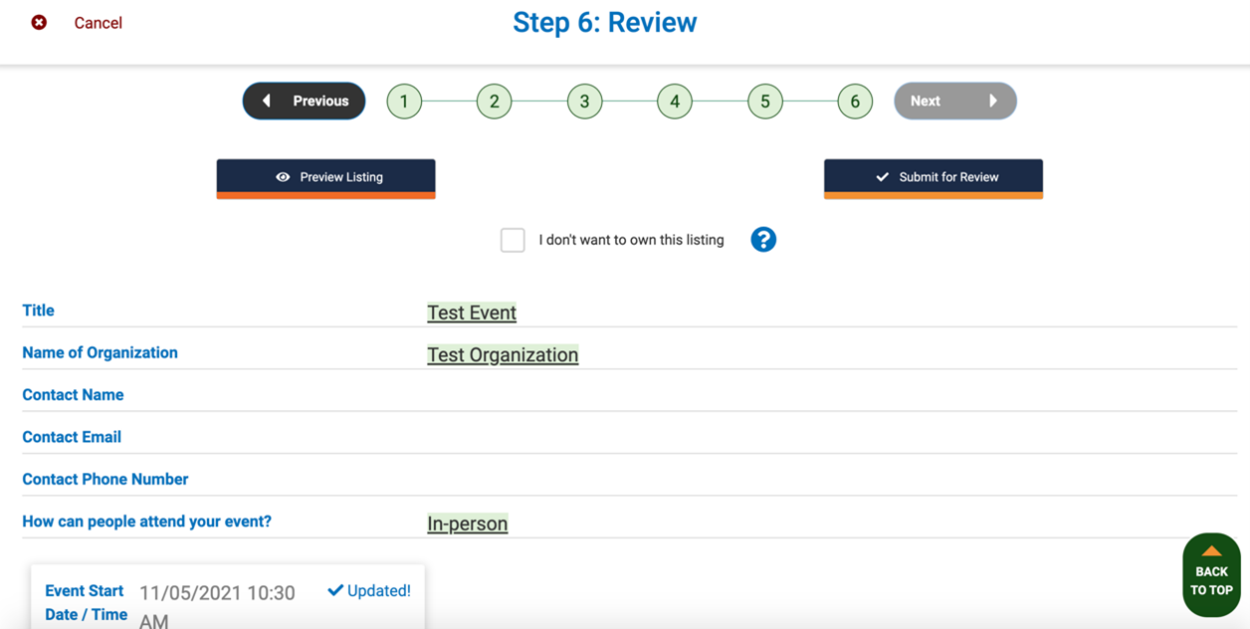
If you are adding a listing, but do not have ownership in the event, check the box next to “I Don’t Want to Own This Listing.” This will allow the owner of the event to claim it themselves and maintain the listing.
Submitting for Review
Once your listing information looks just the way you want it, click ‘Submit for Review.’
You’ve successfully submitted a listing to Pathfinder! You will receive a confirmation email to the inbox associated with your Pathfinder account. We will also notify you when your listing is published to the site. Thank you for helping us continue to grow Pathfinder’s bank of valuable resources.
To submit your upcoming events and utilize other TN Pathfinder tools visit TNPathfinder.org.